When you need professional printing results, reliable ink adhesion is essential. Improper adhesion can fade printed designs, smudge, or reduce the visual impact. The process may seem straightforward, but specific techniques and factors determine how well ink adheres to different media.
Whether you’re printing advertising materials, high-volume posters, or intricate designs, these eleven important fundamentals to getting ink to stick to media will ensure optimal results.
1. Start With High-Quality Media
The foundation of good printing lies in the media you use. Inferior materials can lead to poor ink adhesion, dull colors, and smudging. Make sure your chosen media suits the job at hand. For example, lightweight 24 lb. paper suits everyday prints, while heavier stock works better for professional-grade, crisp visuals. The type of paper directly impacts how the ink sets and dries, so don’t overlook this step.
2. Always Check Media Coating
Coated and uncoated media interact with ink differently. Coated paper typically offers a smooth surface that enhances color and detail, while uncoated media absorbs ink more and softens the image. Coated paper often works best for high-precision points because it holds the ink on the surface without getting absorbed. It is ideal for projects that require sharp images and vibrant colors, such as brochures or photo prints.
Uncoated media works better for writing or drawing, offering a textured surface that feels more natural. Consider the type of finish—glossy coated paper adds shine, while matte paper reduces glare for a more subdued look.
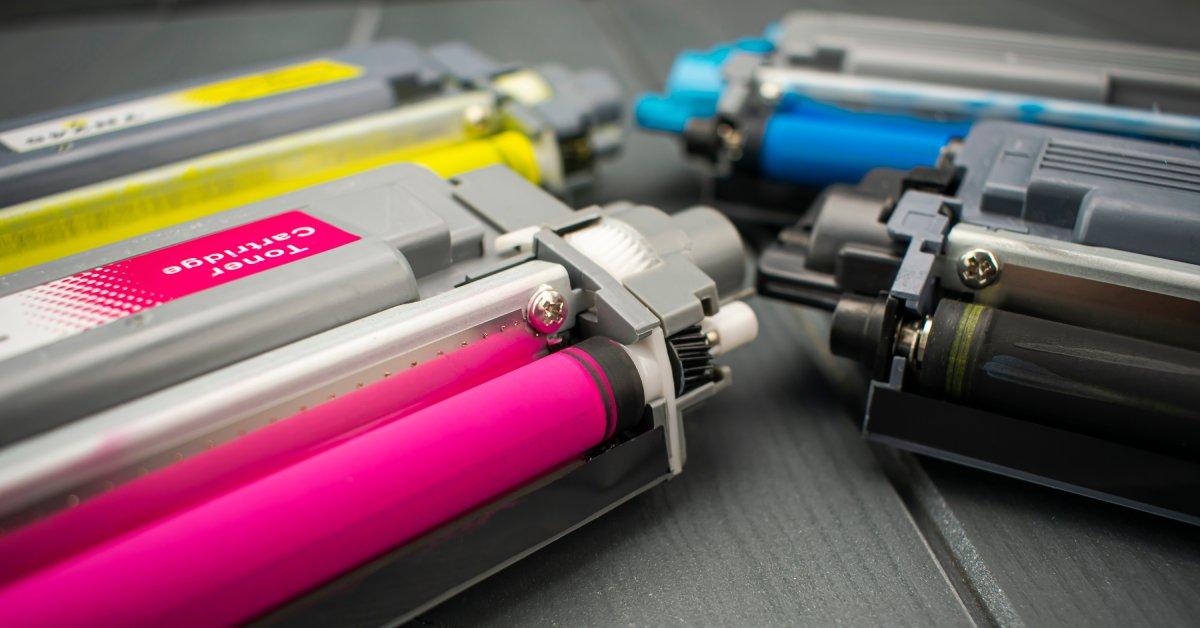
3. Match the Ink With the Media
Not all inks work well on all materials. Dye-based inks dry quickly but may fade faster, while pigment-based inks offer durability but can seem more complex to apply. Choose your ink based on the media’s absorbency, whether you’re printing on paper, vinyl, or fabric. Pairing the wrong ink with the incorrect media tends to produce subpar results.
Not all printers are compatible with dye and pigment-based ink. Always check your printer's specifications before making a choice. Dye-based inks perform best for vibrant colors on glossy surfaces. Pigment-based inks are ideal for archival prints due to their resistance to water and UV light.
4. Optimize Printer Settings
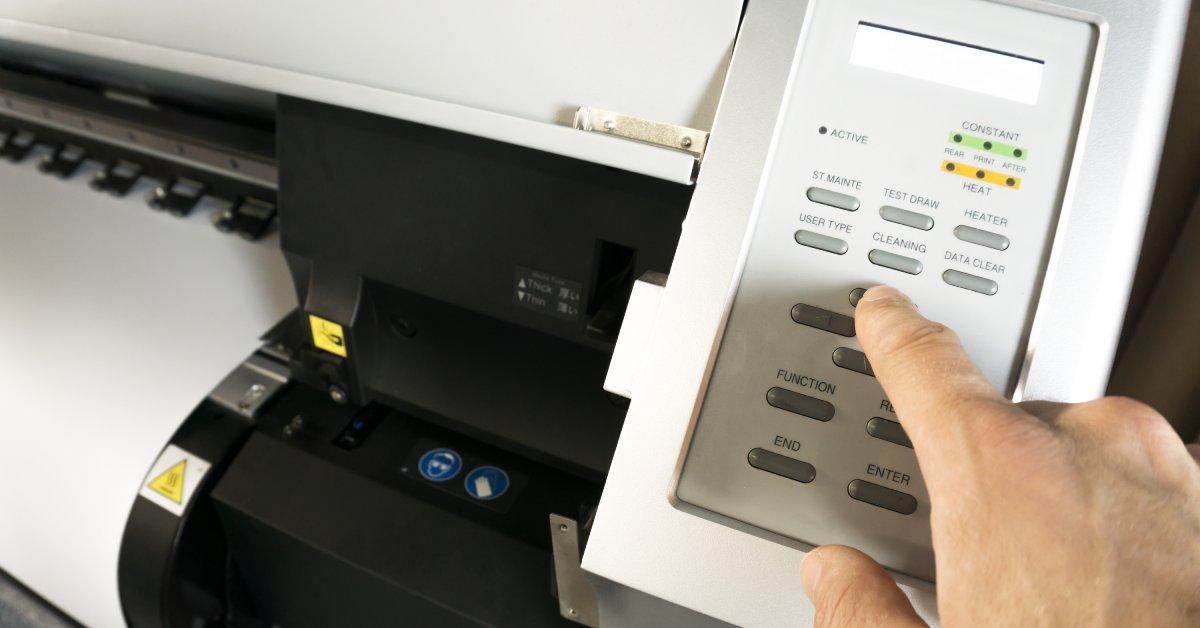
Printers have different settings for various media and ink types. Adjust these parameters carefully to match your job. This may involve fine-tuning the printer's heat setting, speed, or ink application density. For example, premium coated bond paper might require speed and ink density adjustments for professional-looking prints. Check the manufacturer’s guide to achieve the best performance with your materials.
5. Maintain Ambient Conditions
Humidity and temperature dramatically impact ink and media interaction. Too much humidity can slow drying, while very low moisture can cause cracked prints. A controlled environment allows ink to adhere evenly and stay intact over time. Invest in a hygrometer to monitor and maintain an ideal workspace for printing.
Humidity also affects color vibrancy and sharpness. High temperatures can cause ink to spread and reduce the print quality. Use a dehumidifier or air conditioner to regulate your workspace conditions.
6. Use Primer for Specialty Media
Apply a primer before printing when you’re working with unconventional materials such as metal, plastic, or glass. Primers help create a suitable surface for ink adhesion, preventing it from sliding or fading away. If you skip the primer, the ink may not stick properly, leading to poor print quality. Choose a primer designed for the material you’re working with to get the best results. Always verify the surface is clean and dry before applying the primer to maximize adhesion.
7. Clean Media Before Printing
Ink tends to struggle with sticking to dust, oil, or other debris. Gently wipe your materials using a lint-free cloth or specialized cleaning wipes to remove particles. Clean materials make a huge difference and help you avoid smudges, streaks, or inconsistent results.
Ink adheres best to smooth, clean surfaces. Dry your materials completely after cleaning to prevent smearing. Use alcohol-based cleaners on delicate surfaces to avoid damage. Proper preparation delivers sharp results every time.
8. Don't Overload Ink
Excess ink doesn’t improve print quality, and it wastes supplies. It can also lead to smearing and prevent proper drying, especially on glossy or coated paper. Balance is key, so carefully calibrate ink applications for each project to achieve flawless results.
Too much ink can damage your printer over time, as excess ink may clog the print heads. Always use the recommended paper type and settings for the best output. Regularly clean your printer and replace cartridges when needed to maintain consistent quality.
9. Leverage UV Printing for Durability
For long-lasting prints, use UV printing technology. UV lights cure the ink as it’s applied, rapidly drying and bonding it to the media. This method is ideal for outdoor designs on banners or posters that need to withstand rain and sunlight. It delivers vibrant, high-quality colors that resist fading over time.
UV printing works on several materials, including wood, acrylic, and metal. It’s also eco-friendly, using fewer solvents compared to traditional printing methods.
10. Test and Calibrate Regularly
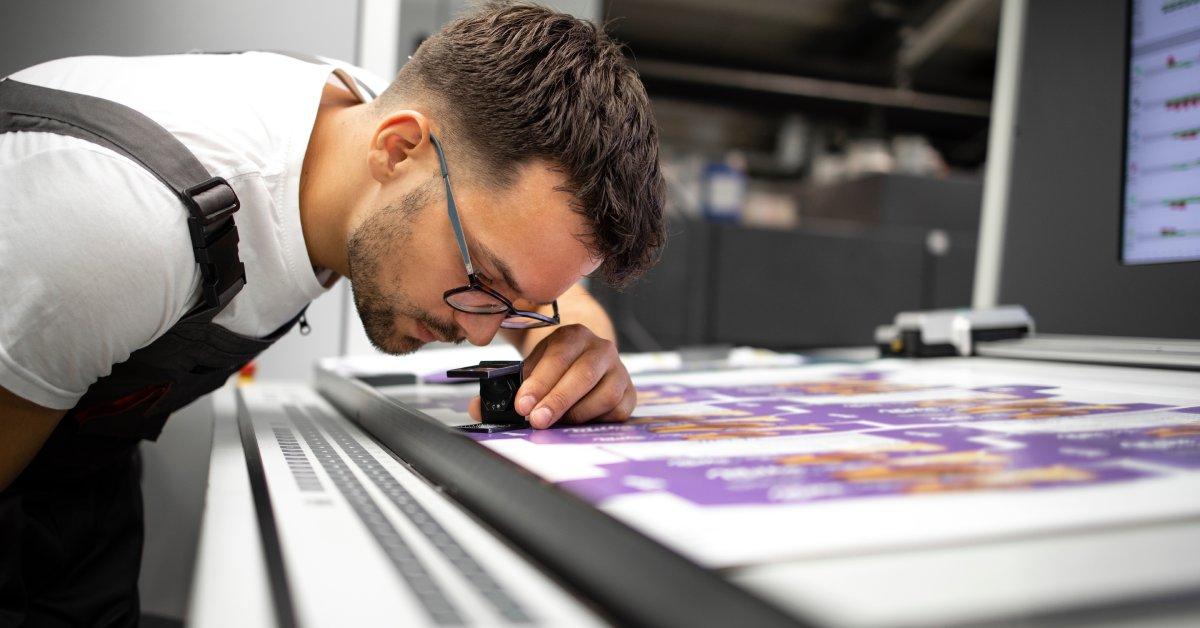
Run small test prints on your chosen media before committing to a full batch. Testing helps you spot potential issues with inconsistent colors or poor adhesion. Calibrating your printer during these trials allows you to adjust for the best results. Use a variety of settings to see which works best for your material. Pay attention to factors s drying time and resolution quality. Document your findings to replicate the best setup for future projects.
11. Store Finished Prints Properly
Once your prints are complete, proper storage helps them remain vibrant and intact. Allocate them to a cool, controlled environment away from direct sunlight or humidity. For example, protective sleeves or flat storage methods can keep projects pristine until they’re ready to present. Following these important fundamentals to getting ink to stick to media will elevate your printing and allow you to avoid potential issues.
The proper knowledge and approach will help you streamline your printing workflow to produce outstanding results. For more advice, contact our team at Plotter Paper Guys, and let us help you choose the best supplies for exceptional print results. Take your next print project to the next level by implementing these fundamentals today.