Store-bought wrapping paper can sometimes be generic and wasteful. You spend time choosing the perfect gift, only to decorate it using the same designs everyone else uses. You show recipients that every detail matters to you when you personalize your gifts by crafting custom wrapping paper. Here are a few ways to do so.
Understand Your Paper Options
The foundation of great custom wrapping paper starts with selecting the right material. Regular copy paper tears too easily under the weight of gifts, while cardstock can be too thick to fold properly around corners.
20lb bond paper strikes the perfect balance of durability and flexibility. This weight handles most gift sizes without tearing while still folding cleanly. You can find it at most office supply stores or through specialty suppliers, such as Plotter Paper Guys.
Brown Kraft paper also works well as a base material. Its neutral color provides an excellent canvas for decorating, and its natural texture adds visual interest to your designs.
Gather Your Creative Supplies
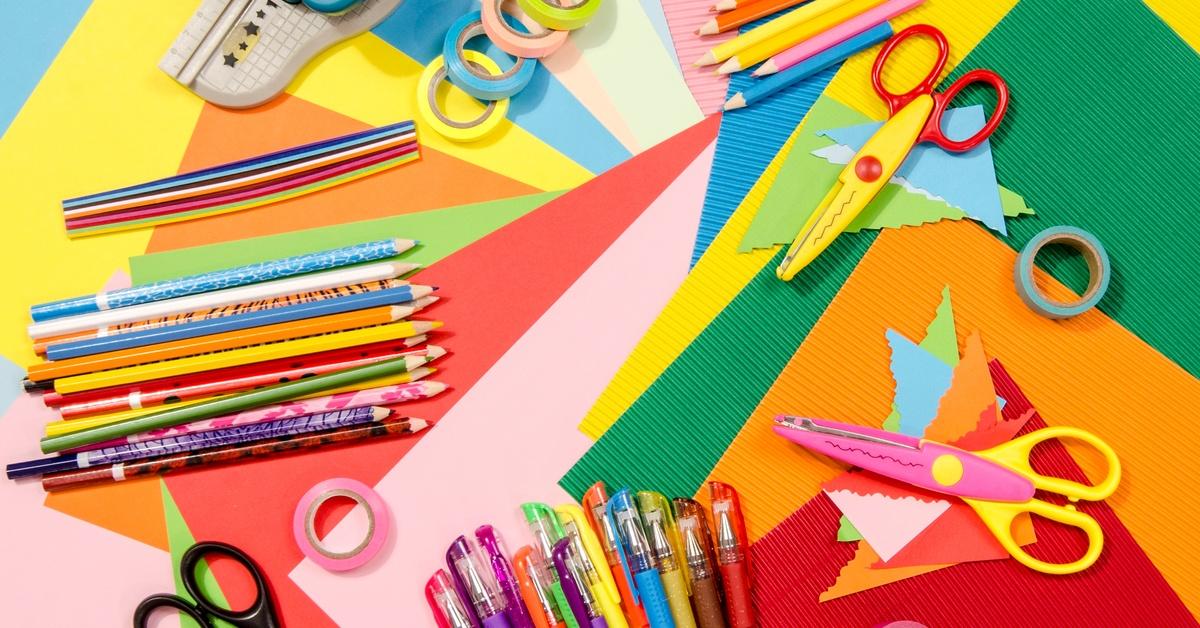
Stock up on materials before you start your project. Acrylic paint works better than watercolors because it dries faster and creates more vibrant colors on paper. Brushes in various sizes give you flexibility for different design elements.
Stamps and ink pads offer another method for decorating. You can buy pre-made stamps or carve your own from potatoes, erasers, or foam blocks. Markers and colored pencils give you precise control for detailed drawings or writing.
Don’t forget about household items that can create interesting textures. Sponges, cotton swabs, and even bubble wrap can add unique patterns to your paper. Stencils help you create consistent shapes and designs across multiple sheets.
Plan Your Design Strategy
Sketch your ideas on scrap paper before committing to your final design. Consider the size of your gifts and how much paper you’ll need. Large patterns work well for bigger boxes, and intricate designs suit smaller presents.
Think about color combinations that complement each other. Neighboring colors on the wheel evoke balance, while opposites bring vibrant contrast and energy. Consider the occasion and recipient when planning your design.
Create Hand-Painted Patterns
Start with simple geometric shapes if you’re new to painting on paper. Dots, stripes, and triangles can look sophisticated when arranged thoughtfully. Use painter’s tape to create clean lines and sharp edges.
You’ll want to apply paint in thin, even coats to prevent the paper from becoming too wet and fragile. Working on a flat surface covered with newspaper protects your workspace. Each color should dry completely before adding to the next layer.
Add Texture and Dimension
Experiment with different painting techniques to create visual interest. Dry brushing (using a brush with minimal paint) creates a weathered, textured look. Stippling (dabbing with a brush or sponge) produces a speckled effect.
Use Stamps and Printmaking
Stamps allow you to repeat designs consistently across your wrapping paper. Incorporating the recipient’s hobbies or interests is a fun way to use them.
You can use everyday materials to create stamps, cutting shapes from foam sheets and gluing them to small blocks of wood. Carve designs into large erasers or potatoes for temporary stamps that work well for one-time projects.
Try to press stamps firmly and evenly onto your paper. Scrap paper is a great resource to practice your spacing. Clean the stamps to prevent muddy mixing if you’re using different colors.
Combine Multiple Stamp Designs
You can try layering different stamp designs to create complex patterns. Starting with your largest stamps as the base layer might work well, and then you could add smaller stamps to fill in the gaps. Using different colors for each layer could add depth and visual interest.
Consider using stamps in unexpected ways. Partial stamps at the edges of your paper can create borders, while overlapping stamps produce interesting color combinations where they intersect.
Work With Stencils and Templates
Stencils create professional-looking designs, even if you’re not confident in your freehand drawing skills. You can make your own stencils by cutting shapes from cardboard or plastic sheets if you don’t want to buy them.
Secure your stencil firmly onto the paper with tape to prevent paint from bleeding underneath. Dab paint through the openings rather than brushing to avoid pushing paint under the stencil edges. Remove stencils carefully while the paint is still slightly wet to avoid peeling.
Incorporate Natural Elements
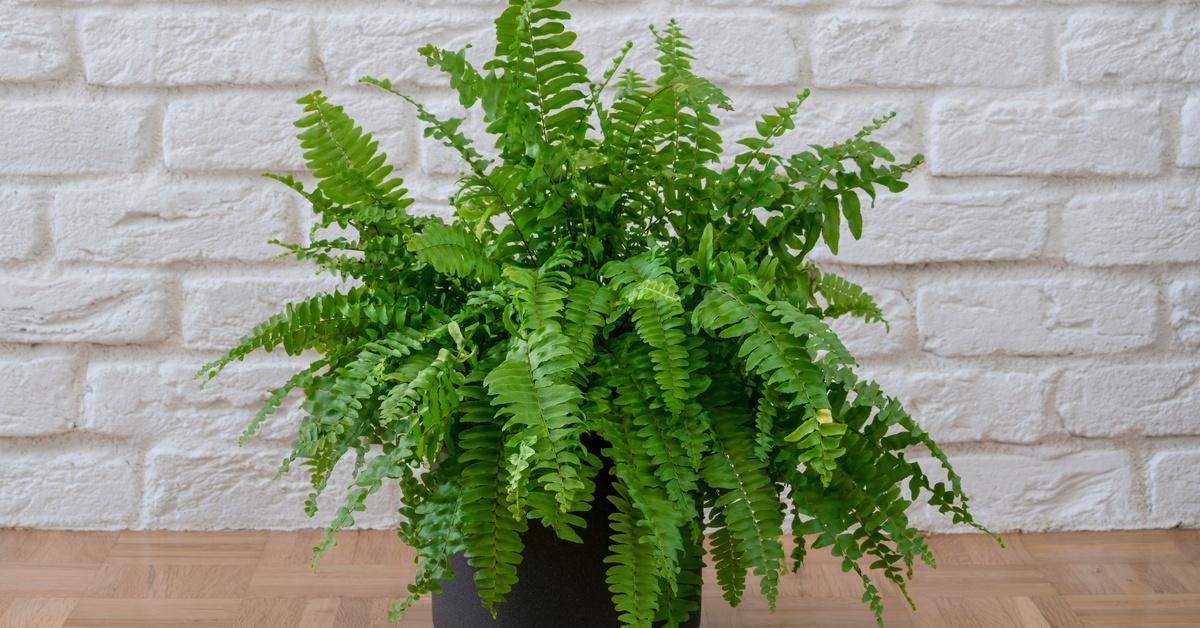
Natural materials add organic beauty to your wrapping paper. Leaves, flowers, and ferns work well as stamps. Spray or brush paint around them, then remove to reveal their silhouettes. You can directly glue pressed flowers and leaves onto your paper for a botanical look.
Dip tree branches and twigs into paint and use them as unique brushes. They can create unique lines and textures that regular brushes can’t achieve.
Digital Design and Printing
Computer programs offer endless design possibilities. Simple software, such as Canva, or more advanced programs, such as Photoshop, allows you to create patterns, manipulate photos, and combine text with graphics. Such tools can help your designs match up seamlessly when printing them on multiple sheets.
Printing a small section first is a good way to test your design. Use a high-quality printer setting for the best results. Inkjet printers generally produce more vibrant colors than laser printers, but laser printers handle large print jobs more efficiently.
Add Personal Messages
Including the recipient’s name, special dates, or inside jokes is an awesome benefit of personalizing your gifts with custom wrapping paper. Hand-lettering adds a thoughtful touch that printed text can’t match.
Using guidelines (lightly drawn lines) can keep your text straight and evenly spaced. Rulers and straight edges can create consistent letter heights. Consider incorporating photos into your design. Black and white photos often work better than color because they integrate better with painted or drawn elements.
The Final Presentation
Once your paint is completely dry, inspect your wrapping paper for any areas that need touch-ups. Often, you can cover small imperfections with strategically placed decorative elements. A light coat of clear acrylic sealer prevents smudging and gives your paper a professional finish.
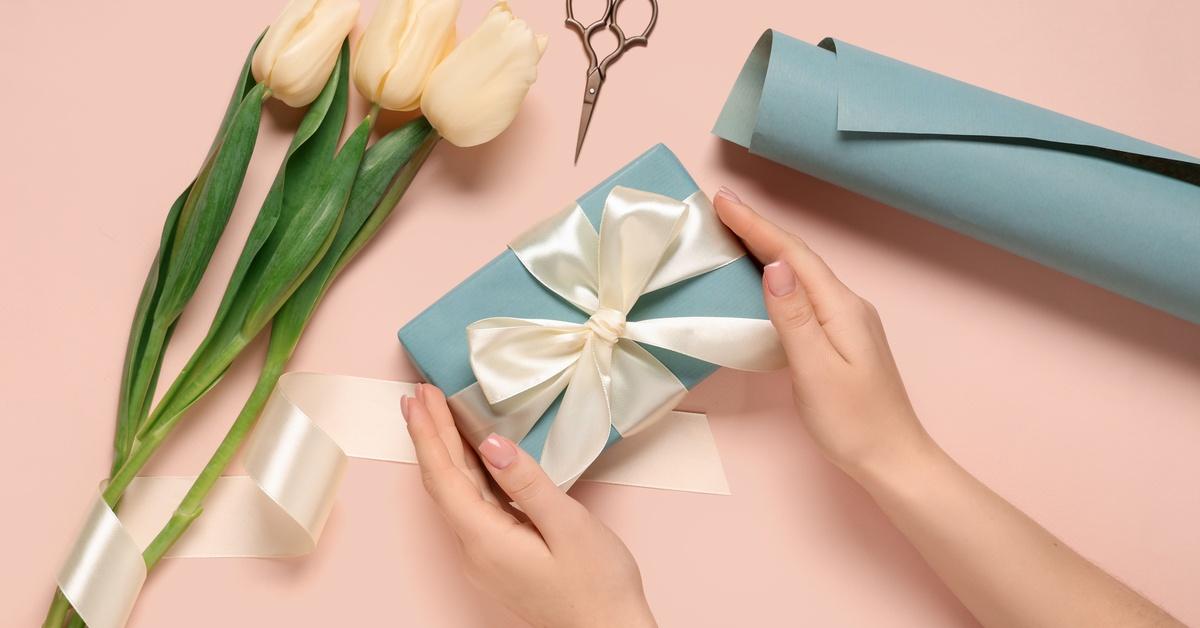
Consider how your custom paper will look with ribbons and bows. Simple, solid-colored ribbons often complement busy patterns better than patterned ribbons. Natural materials, such as twine or raffia, work well with nature-inspired designs.
Storage and Future Use
You might find it helpful to store finished wrapping paper flat between sheets of tissue paper to avoid scratches. Large, flat boxes or art portfolios can work nicely for this.
Taking photos of your designs before using them can help record techniques or color combinations you liked. Consider using leftover paper scraps as gift tags, bookmarks, or other small crafts to reduce waste.
A Memorable Gift
Custom wrapping paper transforms the entire gift experience. Recipients often comment on the wrapping before they even open the gift, creating an extra moment of joy and surprise. Many save beautiful wrapping paper for scrapbooks or use it for other craft projects.
Plotter Paper Guys offers premium 20lb bond paper and other paper options designed to show off your creativity. Let us help you turn your gift wrap into a beautiful moment.